Anti-Bird Net Installation Guide
Installing an anti-bird net is a straightforward process, but it requires careful attention to ensure that the net is securely fixed and effectively prevents birds from entering. Here’s a step-by-step guide to help you with the installation:
Materials You’ll Need:
- Anti-Bird Net (made of HDPE or nylon)
- Measuring Tape
- Steel Wire or Rope (for securing the net to structures)
- Hooks, Anchors, or Nails
- Cable Ties or Zip Ties (for fastening the net)
- Ladder (for higher installations)
- Drill (Optional) (if you need to drill holes in walls for anchors)
- Screws (if drilling is required)
- Gloves (to protect your hands during installation)
Step-by-Step Installation Process:
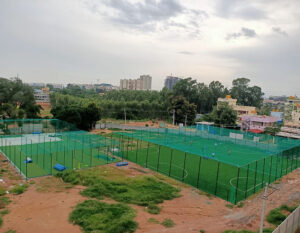
1. Measure the Area
- Measure the area where you want to install the net (balcony, terrace, garden, etc.).
- Ensure you account for any irregularities or corners that may require extra netting.
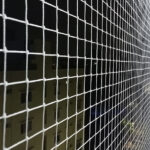
2. Choose the Right Size and Type of Net
- Mesh Size: Select a net with small enough mesh to block the birds but large enough to allow air to pass through.
- Material: Choose a UV-resistant net for outdoor installations to ensure durability.
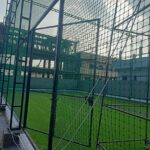
3. Secure a Support Structure
- Identify structures like balconies, roof beams, fences, or walls that you can use to support the net.
- Use steel wire, ropes, or nails to create a framework for attaching the net.
- If the net is large, you may need to set up multiple anchor points around the perimeter.
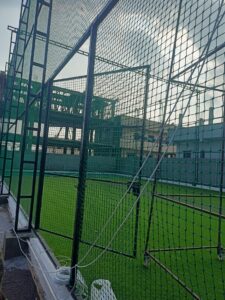
4. Install the Netting
- Start at one corner and unroll the net across the area.
- For horizontal installations (e.g., over a balcony), fix the net along the edges using steel wires or hooks.
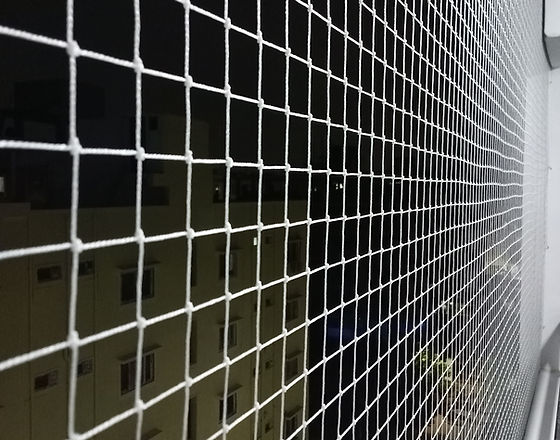
- For vertical installations (e.g., covering a wall or structure), make sure the net hangs loosely to allow flexibility.
- Use zip ties or cable ties to secure the net to the support structures. Attach the net at regular intervals (every 6-12 inches).
- If you’re fixing the net to a wall or ceiling, you may need to drill holes and insert screws for better stability.
5. Tighten and Secure the Net
- Make sure the net is pulled tight to avoid sagging. This helps prevent birds from finding any gaps.
- Secure the edges of the net to ensure there are no loose areas where birds can enter.
6. Check for Gaps and Adjust
- Once the net is installed, check for any potential gaps or weak points.
- If you find any areas where birds could enter, add additional ties or secure the area more tightly.
7. Regular Maintenance
- Over time, the net may sag or become damaged. Regularly check and maintain the net to ensure it remains effective.
Estimated Cost of Installation:
- If you hire professionals, the cost of installation may vary depending on the area to be covered. Generally, installation charges range from ₹500 to ₹2,500, depending on the complexity.
- DIY installations save costs but require some effort and time.
Where to Buy Anti-Bird Nets for Installation:
You can buy anti-bird nets from platforms like:
- Amazon
- Flipkart
- IndiaMART
- Local hardware or cricket stores
Let me know if you’d like help finding a supplier or more details on installation! 😊